If you want to change the default media/image/document upload location in WordPress?
This How To tutorial will guide you for changing the upload directory path as per your convenience. If you want to move upload directory to a outside of the WordPress directory, like a subdomain directory, this tutorial will help you.
Important Note: Take a back of up your website before applying below procedure, to revert changes on any failure.
Steps to change the default upload directory path
Following are the steps to change the upload directory path in WordPress.
Step 1: Open the WordPress installed directory using FTP/SFTP or cPanel. Navigate to the /wp-content/ directory, This directory will have default uploads directory which is current your current upload directory.
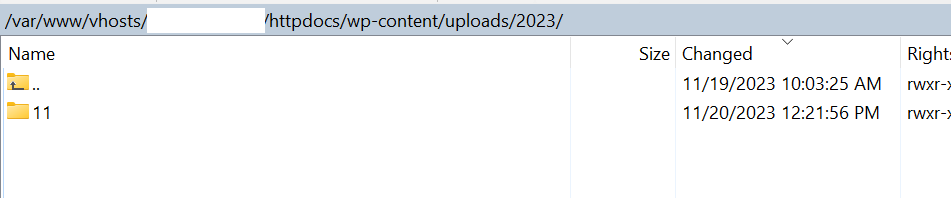
Step 2: Create a another directory where you want to upload your media/image/document on your server location. Ex: /images/ this will create images folder under home location.

Step 3: Edit the file wp-config.php file and change the folder name as desired and keep in mind that paths are relative to the WordPress directory.
// Set the upload dir to '/images'
define('UPLOADS', 'images');
// Set the upload dir to 'photos'
define('UPLOADS', 'images');Step 4: If your website was already storing media files, move these files from of the previous upload directory to the new upload directory.
Step 5: Upload a new sample file by upload media and check that it is stored in the new location correctly.
Step 6: Navigate through your website new upload location and verify that file is displayed correctly.
Note : If you getting an error while uploading a file. it is recommended to change the new directory permission to 755.
chmod 775 /images/Now, WordPress will upload all your media/images files to the new folder.